|

I have been looking at all the cool tap handles that people on
various beer forums have made, so I decided to give it a try myself.
Here are some of the different pictures that I found useful:
I liked the idea of using a sports card protector for the label
portion of my tap handles, that way I could print labels and then
remove them when the beer was gone. Using the silver ferrules
instead of using cut in nuts seemed a lot easier and more stable as
well. Here's a list of the parts
that I purchased:
| Part |
Purchased From |
| 8" Wooden Table Leg |
Lowe's |
| 4" x 1" x 4' Piece of Oak |
Lowe's |
| 2" Wooden Dowels |
Lowe's |
| Sports Card Protective Sleeve |
Walmart |
| Silver Ferrule (Bottom part of handle that connects to
the tap) |
MoreBeer |
| Wood Glue |
Had Already |
| Double Sided Tape |
Had Already |
I started off by measuring the piece of oak that I purchased
alongside the sports card sleeve in order to rip the board to the
right width. After that was done, I again used the card sleeve
to measure and finish up the upper portion of the tap handle.
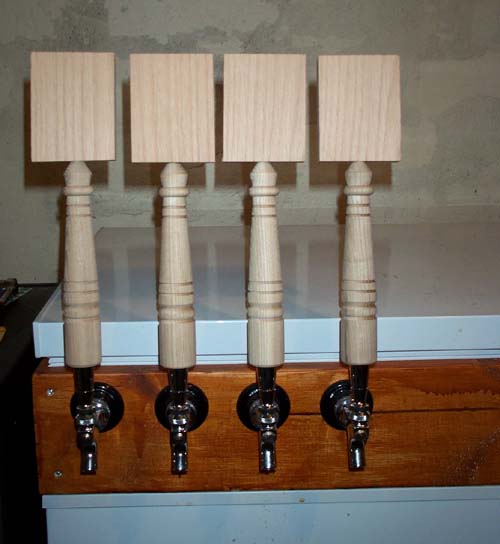
After that was done, I positioned the tap handles on the bench and
drilled a hole just big enough to fit the dowel into both the table
leg and the upper portion of the handle. I don't have a drill
press, so I had to just hold each piece as straight as I could while
I used a hand drill to make the holes. This ended up making my
handles a little crooked, but pretty good considering what I had to
work with. Below, you can see what the tap handles looked like
before I stained them.

After my holes were drilled, I fabricated a
staining stand out of a piece of 2" x 6" board that I messed up on
while making the collar for my
Chest
Freezer. Damn those 45 degree angles! Below, you can
see the handles after a single coat of stain. I used a darker
Minwax stain that had built in polyurethane, so one coat was enough
to make them look pretty good.
When the wood had dried over night, I assembled the bottom and top
portions with the wooden dowels and wood glue. I had a pretty
good/tight fit on most of the tap handles. After the glue had
dried for awhile, I used some double sided tape to attach the sports
card protectors to the top portion of the tap handle.
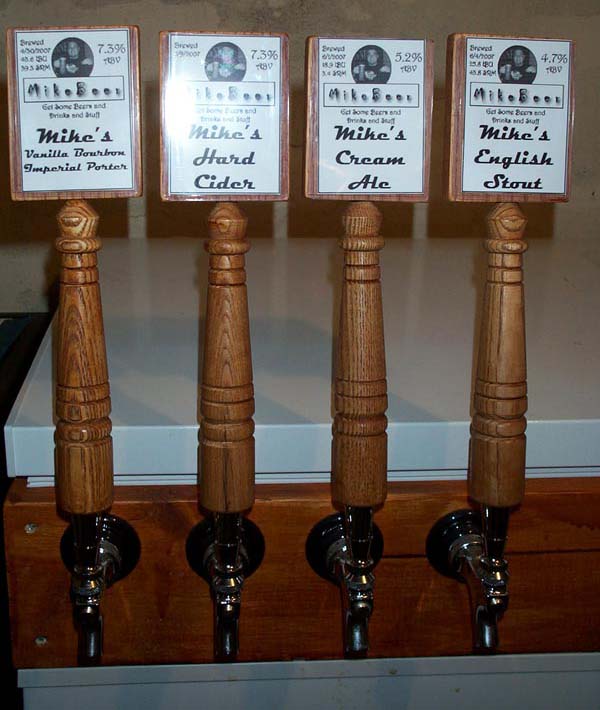
Now, all I needed to do was design some labels for my new tap
handles. That turned out to be the most time consuming part of
the whole project. I originally wanted to make color labels,
but I ended up settling on black and white labels. I don't
have a color printer at home, so I would have to use the work
printer and I really didn't want to mess with that. I used
Photoshop to create a template, but you could use any free software
as long as you get the size correct. Here's what I ended up making:

I saved the template as a Photoshop file so I can
go back and change the name, ABV, IBU, SRM, and Brewed date.
Even though the label is really basic, I'm pretty happy with the way
it turned out. It lets people know what's in the kegerator
without being too busy and also provides fellow brewers with a
little more info. In the future, I may consider adding a
little more depth but for now it works. Here's a couple
pictures of the tap handles on my two kegerators:
|